
![]()
![]()
![]()
![]()
If you have never used Gmax/3dsmax or any other 3D modeling program then this area's for you. These tutorials will cover the basics of Gmax or are so simple (once you understand the process) that they can almost be explained by simply looking at the pictures. =)
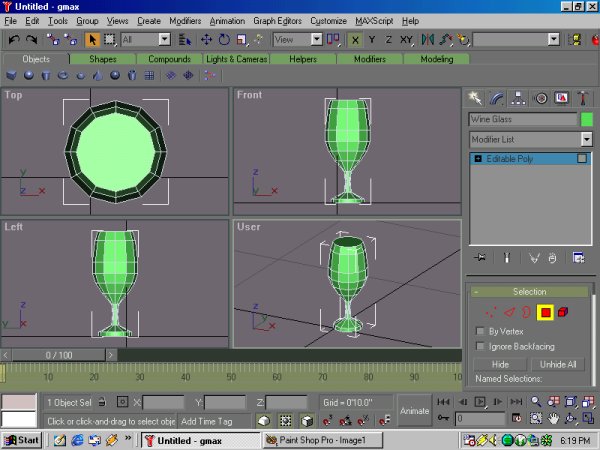
Begin by making a glass. Make sure your units are set to inches.
 |
| Start by making a cylinder with a 1" radius and height of .25" , 1 height segment, 1 cap segment and 12 sides. Do not right click until you have typed in all the information as pictured above. Once you have the bottom of the glass made Right click and then convert it to an editable poly and name it Wine Glass |
 |
| Next use the bevel poly command to create the glass shape. Right click and on the poly roll down select bevel poly and pick on the top of the glass base. Extrude it up a little and bevel it in. Note that the more bevels you use to make the glass the smoother the final glass will be. |
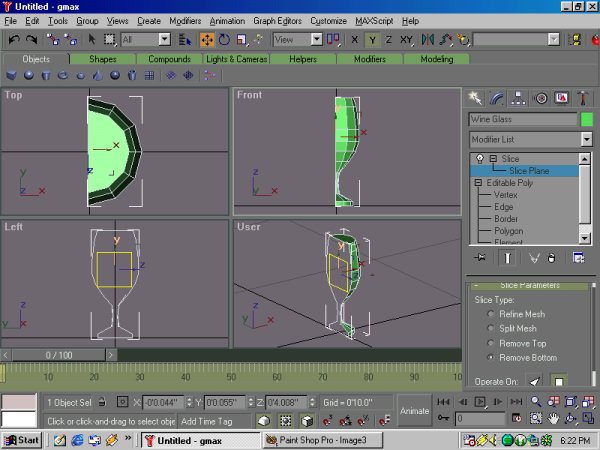 |
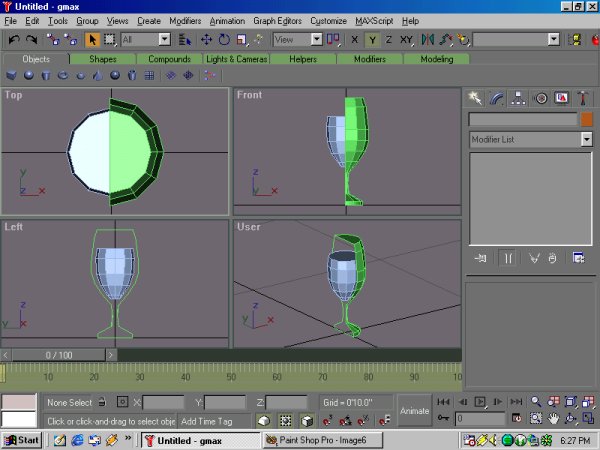
| Now we need to hollow out the glass, to do so we need to see inside the glass. Start by adding a slice plane modifier from the modify rollout. Rotate the splice plane gismo so that it is cutting the wine glass in half. The pick the remove bottom radio button, your glass should be cut in half (see image above). we will remove the splice plain later to return the glass to it's complete form |
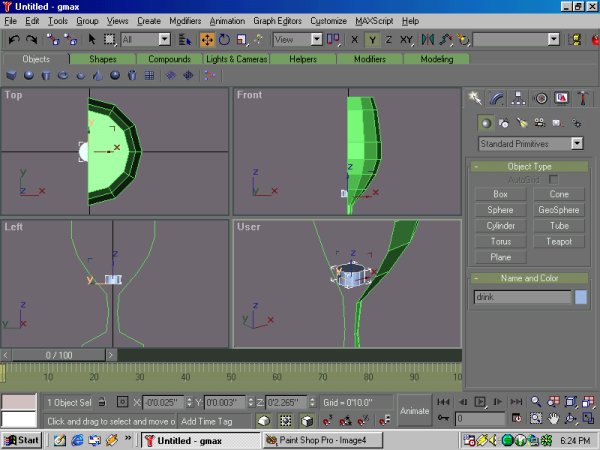 |
| Create a new cylinder roughly .25" x .25" and move it into position. Convert it into and editable poly and name it Drink. |
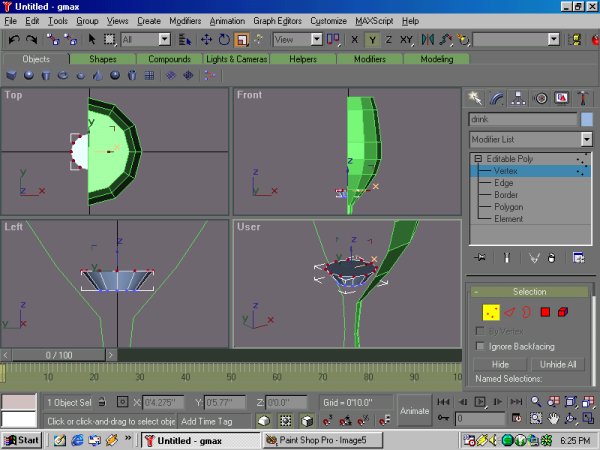 |
| We now need too match the outside bevel, to do this select the top vertex's and use the stretch editor to move the top out till the side edge is parallel to the glass. |
 |
| Using the bevel poly editor build the drink that will fill your finished glass. |
 |
| Once you have it created use the shift-move modify to clone your drink. We will move this one back into the glass later. Now you are ready to finish carving out your glass. |
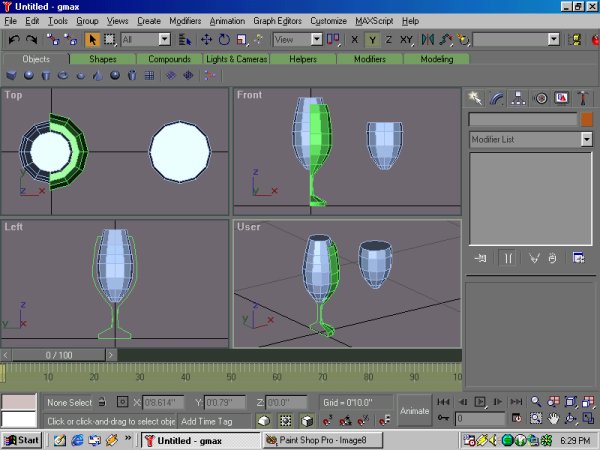 |
| Use the bevel poly to build up your drink model till it extrudes through the glass. Next, pick the Wine Glass and remove the slice plane modifier from it by little trash can icon on the modify rollout. (The remove modifier from list icon) |
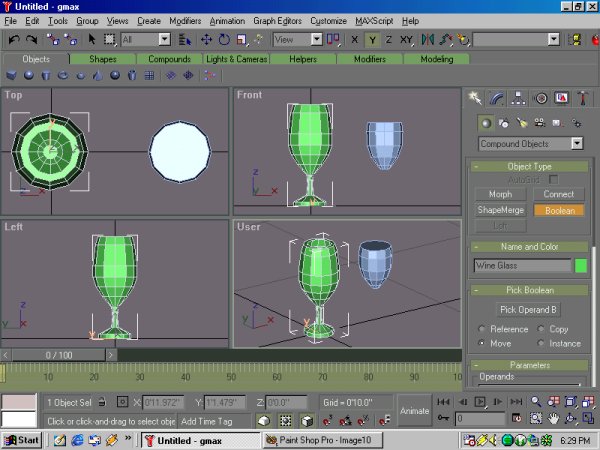 |
| To carve out your wine glass you first select it then pick the compound objects builder, then pick Boolean. Make sure the current Boolean setup is to remove B from A. Pick the "Pick Operand B" button and select the drink carving model. The wine glass should now be carved out as shown above. |
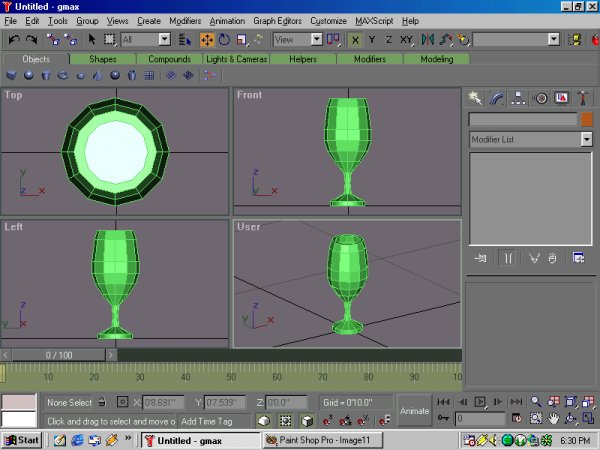 |
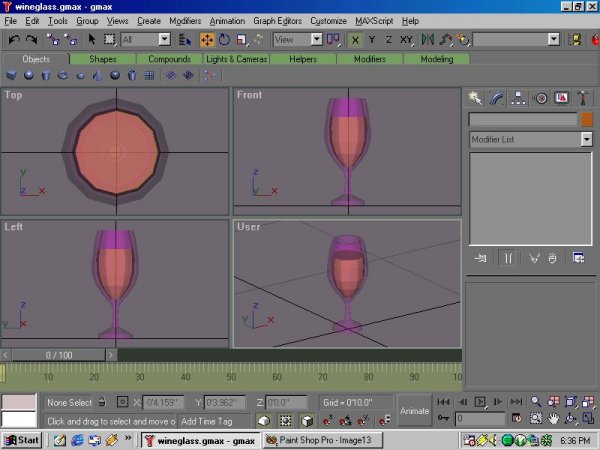
| Move the drink model into the wineglass model make sure it is correctly centered. Now your ready to create the glass skins. |
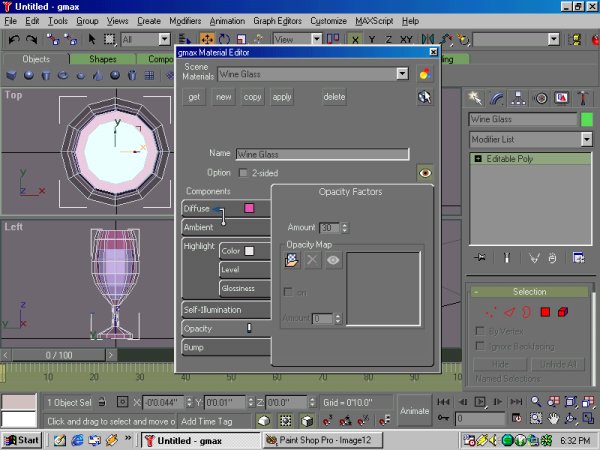 |
| In the material editor select a Defuse color for your wine glass. Next pick the Opacity tab and set your opacity (transparent) for around 30. Name the material wineglass. Select your wineglass and apply the material to it. Play around till you get the quality of glass you want by changing the opacity of the map. |
 |
| Repeat the process with the drink. Do you want milk, cool aid, Tea or Champaign you decide by setting the drinks color and transparency. |
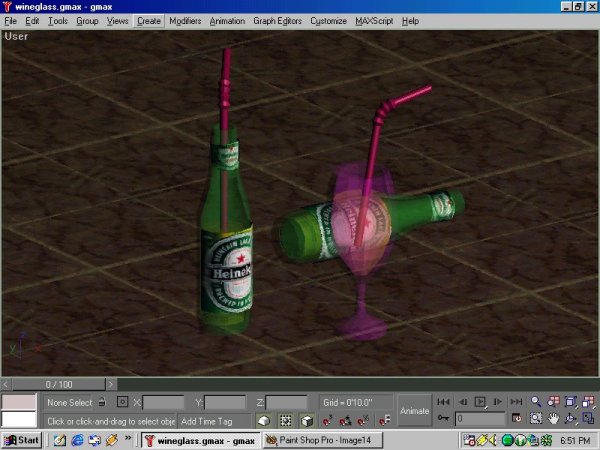 |
| That's it, later on we will play with adjusting the other mapping functions. You can create anything from cut glass too a milk jug easly. |